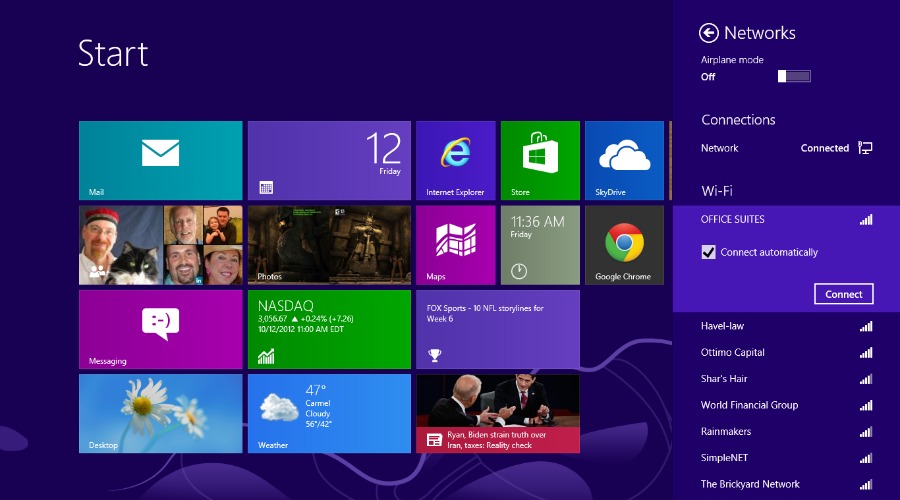
Not getting internet connection on your Windows PC can be very frustrating. No matter which version of Windows OS you’re running, you’ve likely come across this error at least once. However, many Windows 10 users have reported this of late.
There can be several reasons why you are not able to access Internet on your Windows 10 PC despite being connected to Wi-Fi network. Before you’re able to fix the internet access problem, let’s try to understand what may have caused this issue in the first place.
Basically, there are two main reasons:
Windows 10 Update: In some cases, the wireless driver adaptor on your PC remains becomes incompatible with your PC when you update your OS from an older version to Windows 10. The Wi-Fi driver will simply go missing until you update it.
So, the trick is to try reinstalling the Windows 10 Wi-Fi driver adaptor so it becomes compatible with your new OS.
Microsoft Support has a quick guide on how you can update drivers in Windows 10.
VPN Client: According to Microsoft, sometimes the VPN client on your older OS version (Windows 8.1) contains a filter driver which is not properly upgraded during the transition. This causes the Wi-Fi problem when you start using the new OS version.
Try uninstalling the VPN client from your PC altogether, and try connecting to the Internet to Wi-Fi again.
Apart from the above two reasons, you may experience No Internet on your Windows PC while connected to Wi-Fi network. The culprit is Wireless Adaptor Power Settings.
Optimize Wireless Adaptor Settings to Fix Wi-Fi Issues
#1: Press Windows Key + S and Choose Power Options.
#2: Under the Preferred Plans, Choose Balanced (Recommended) and Click on Change Plan Settings.
#3: Choose the Advanced Settings tab when a pop-up window appears.
#4: Choose Maximum Performance under Wireless Adaptor Settings.
#5: Click Apply and OK.
There’s an alternative method that seems to have worked for many other users as well.
#1: Right Click Windows Icon and Open Device Manager.
#2: Click on Network Adaptors (right arrow icon) to expand options.
#3: From the given options, click on your Wi-Fi adaptor and select Properties for configuration. A pop-up window will appear.
#4: Select the Power Management tab (usually the last tab).
#5: Untick the option that says, “Allow the computer to turn off this device to save power”.
Let us know in the comment if this works for you. If you know any alternative solution to the issue, feel free to share with us and we will include the same in our article with a hat tip to you.
