While Google has no immediate plans to add Web fonts to Gmail, you can still change the default Gmail fonts and use any custom Google fonts.
Can you add more fonts in Gmail?
Technically, the answer is NO but if luckily, there’s a small workaround to use different fonts to Gmail.
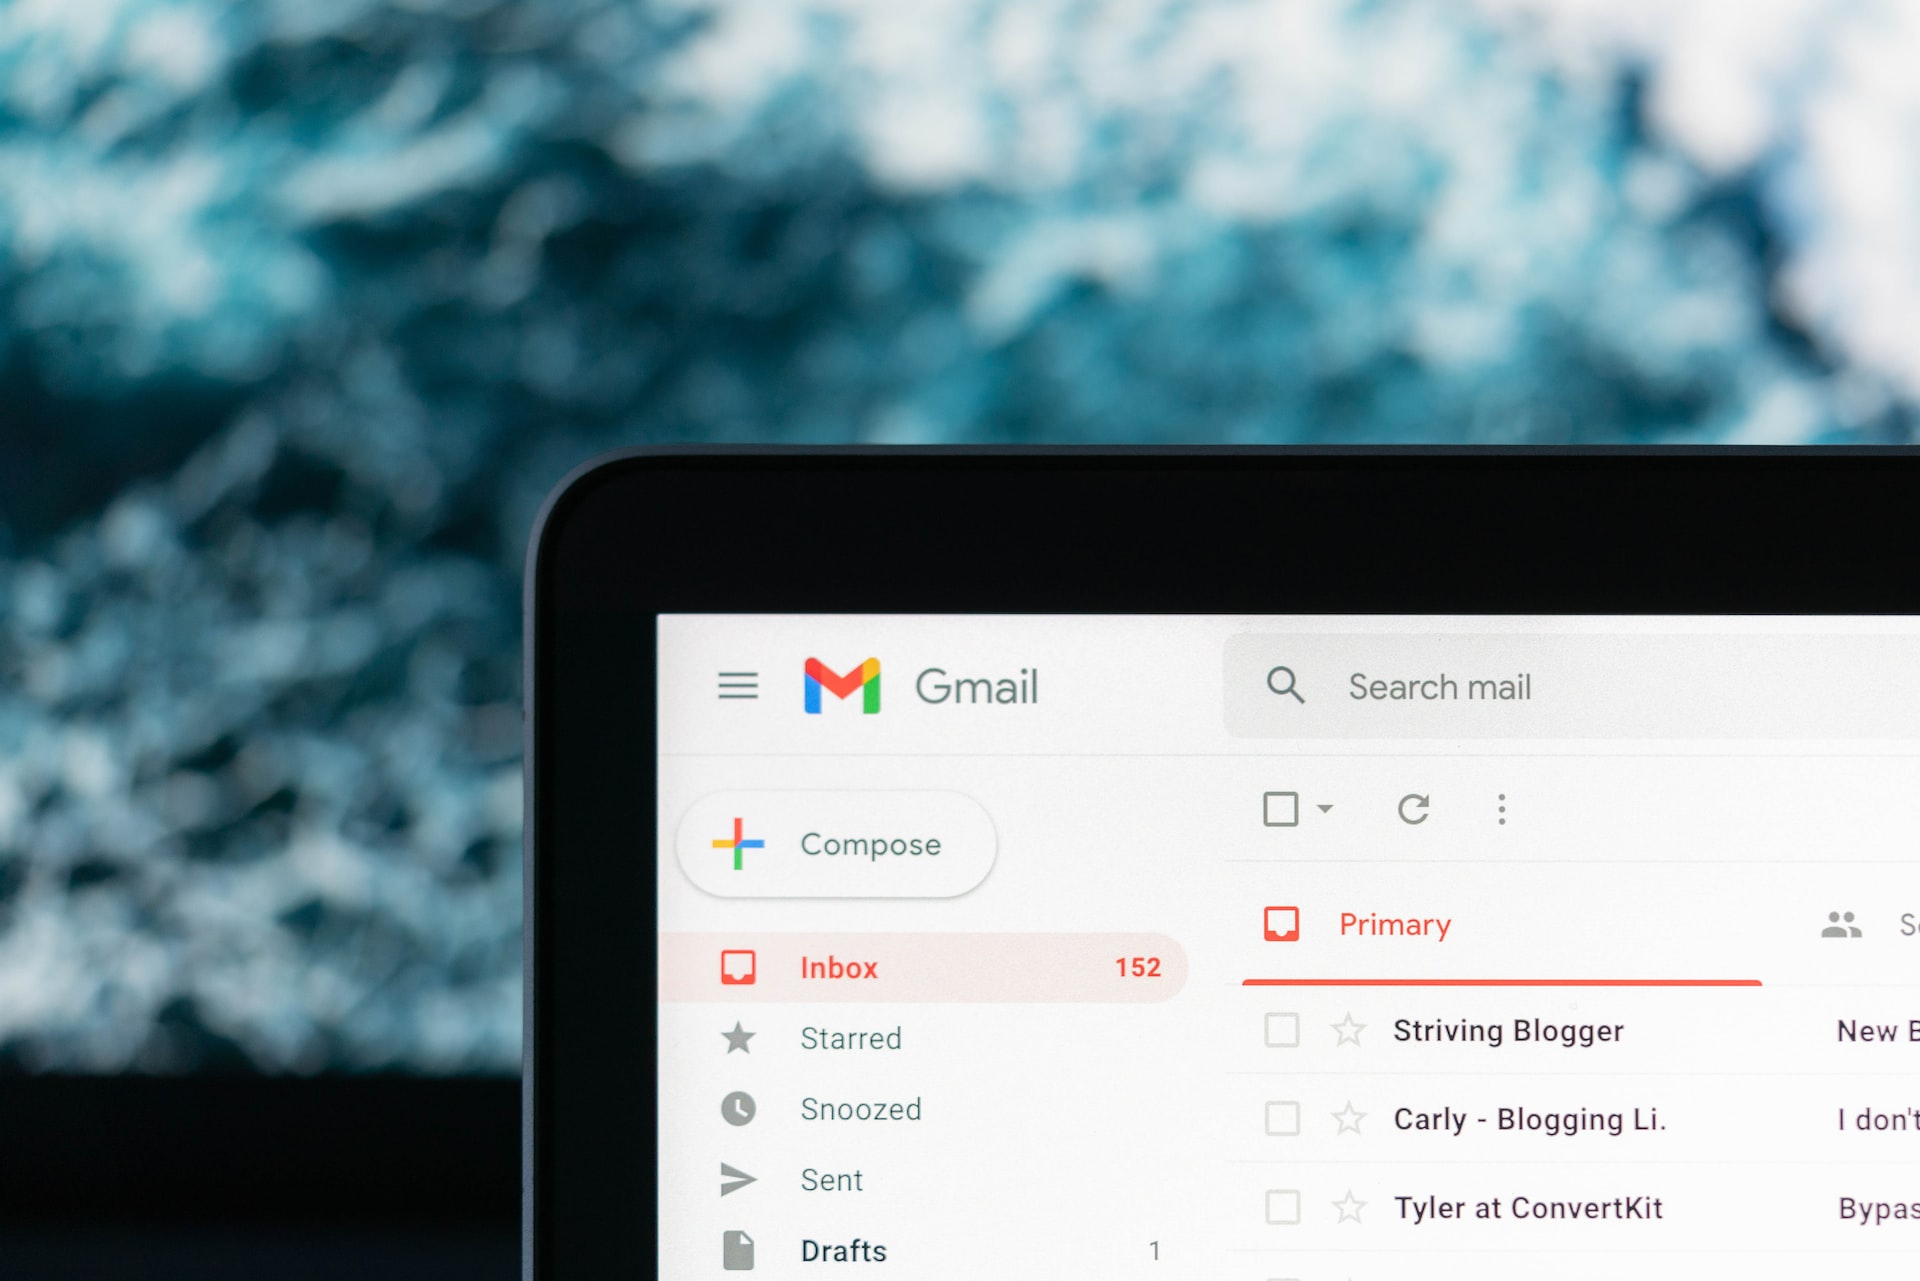
Gmail is arguably the most popular email client we use for our day-to-day communications today.
Google is always hard at work, making every effort to improve the experience of its users. Therefore, the teams at Gmail constantly keep adding some of the other features to their email service in order to make it even more interesting and user-friendly for their users.
For those of us who are savvier than others, we tend to dig deeper into the features to explore the evolving features to make the most of our emailing experience.
For example, a lot of Gmail users want to use Google web fonts in their Gmail. While Google has no immediate plans to add Web fonts to the Gmail, you can still change the default Gmail fonts and use any other fonts you use in your MS Word Documents.
Even as Gmail is the most popular email service around, there are many users who still want to customize or change the Gmail layout to suit their own preferences. For example, Gmail only has 11 fonts to choose from. You can’t use any custom front out of the box.
Update: I’ve updated this guide with a more advanced approach to adding custom fonts in Gmail. With this approach, you need to take the following steps to change the Gmail layout or appearance.
Step #1: Install Chrome Extension
TamperMonkey is one of the most popular user script managers, which allows you to change the Gmail layout or appearance in a couple of minutes. They have a Chrome extension by the same name, which can help you add scripts to your Gmail inbox layout. Please, note that you’re not technically changing anything in the backend of your Gmail. You can’t really do that. However, you’re only tweaking the CSS. Also, the changes you make are only visible to you. Install and add the Chrome extension.
Step #2: Use Chrome Inspect Elements Tool
Depending on what changes you want to see in your Gmail inbox appearance, you need to use the Chrome Inspect Elements tool and note the exact CSS selectors. For example, if you want to change the Gmail fonts globally, you need to target the gmail_default selector. Choosing the right selectors is often the most time-consuming part of this task. Once you have identified the selectors, it’s time to write the actual CSS and put them in your script in the next step.
Step #3: Use Javascript
Finally, you need to use the CSS within the script which goes inside the TamperMonkey panel.
While the script below contains only two lines of scripts, it could be longer depending on the number of changes you want to make apart from using custom Gmail fonts.
Typically, the script would look something like this.
https://gist.github.com/topleague/7961b079424e1e5735bd829f7d6ddf32
Traditional Approach (Deprecated)
Here is the step-by-step process on how to add different custom fonts in Gmail:
Step # 1: Enable Canned Response
To begin with, you need to click on the settings on your Gmail account and click on the “Labs”. You will find several features under this tab, which are usually disabled by default. However, Gmail users can choose to enable any features as per their liking.
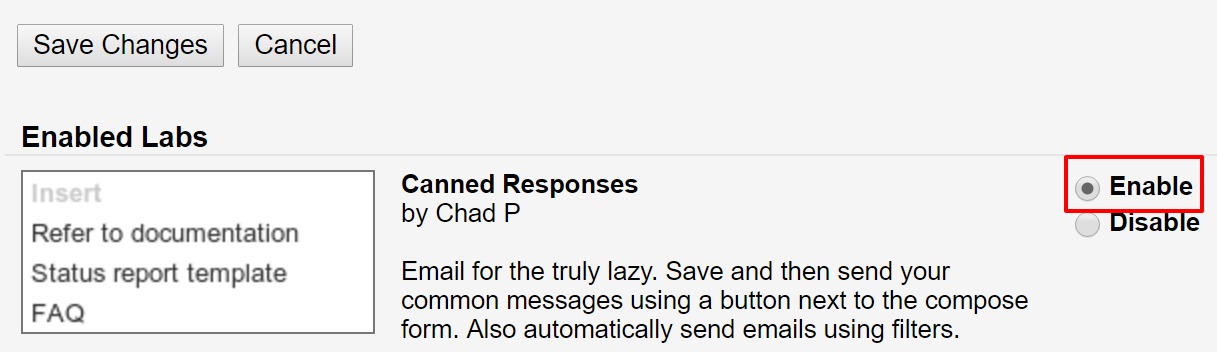
You should go to the Canned Response feature and click on the enable button to activate the feature for your Gmail. Then go to the bottom and be sure to click on “Save Changes”.
Step #2: Choose Custom Fonts
The second step is to choose the kind of custom fonts you want to display in your Gmail. Open the MS Word Document on your computer and write some dummy text which you would use in your communication. Maybe, just write “Hey buddy, hope you’re doing well”. You can change the text later on.
Be sure to give some space after the text by hitting the “Enter” key multiple times. Then copy the text making sure it copies the space as well.
Step #3: Create Canned Response
It’s time to create a canned response. Go to your Gmail tab and compose a new message. Then paste the copied text on to the body of the new message. You will see that your desired font has appeared in your Gmail.
You’re just one more step away from adding custom fonts to Gmail.
Step #4: Save Your Settings
Then go to the Canned Response which can be found under the “More Options”. You will need to click on the “New canned response” to create your canned response. It will ask you save the canned response with a particular name. You may give it any name that’s convenient for you for easy reference in the future. You may want to create multiple canned responses with different custom fonts in Gmail for future use.

Step #5: Test Your Settings
Once you’re done with this step, it’s the testing time now. After all, no experience is complete without testing.
If you have any alternative email accounts in Yahoo or Bing, you can send a test email just so you know whether the trick is working effectively or not.
Create a new message, fill out the recipient name, and write Test Email in the subject line. Then just go to the canned response option and click on the saved canned response. You should see the exact message which you had saved while creating the canned message, and in the same font that was used in your MS Word Doc.
Now all you have to do is change the text and write a fresh email and hit the send button. When you can check your alternative email to see what it looks like.
Congratulations! You have successfully changed the default fonts in your Gmail.
Now live in the glory of being awesome! 😉
PS: You can follow the same process to use custom fonts in the Gmail signature.